M5 is a new clamp that featured with M1&M2 functions together for Xhorse Dolphin XP-005L machine. It requires 4 steps settings for the first time to work normally. Let’s learn the setting instruction below to start cutting.
It may help:
How to Use Xhorse Dolphin XP-005L M5 Clamp?
http://blog.xhorsestore.co.uk/key-cutting/how-to-use-xhorse-dolphin-xp-005l-m5-clamp/
Power on Dolphin XP-005L Key Cutting Machine for ready.
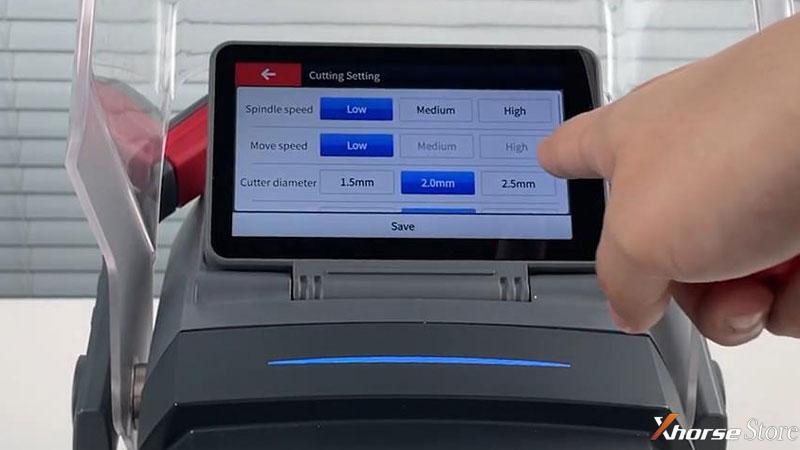
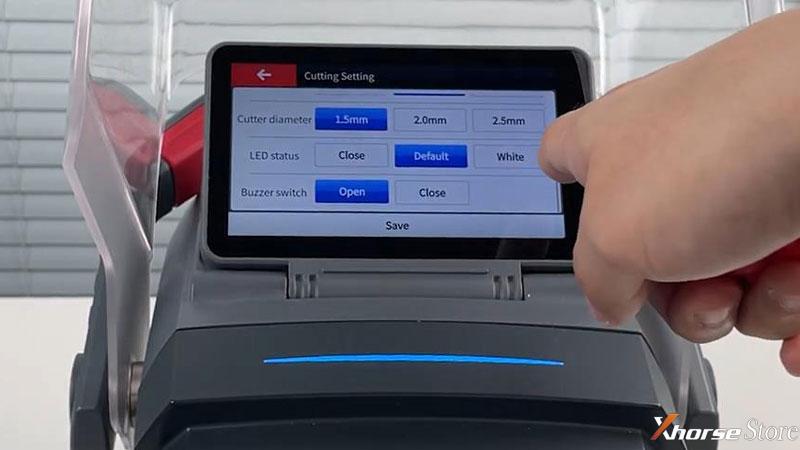
Step1. Cutting Setting
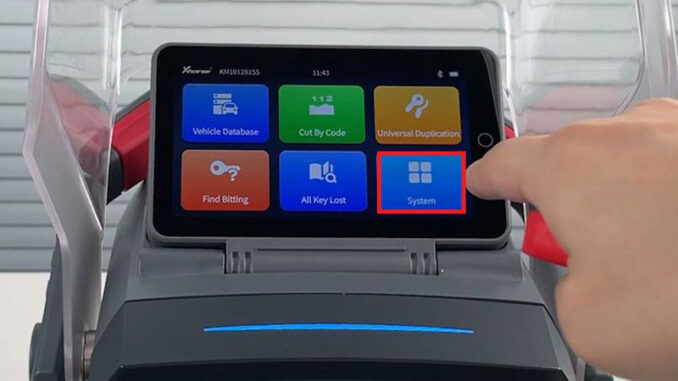
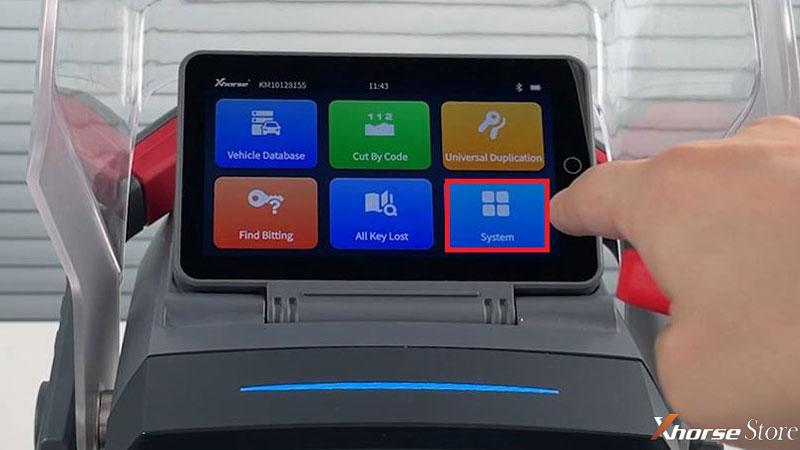
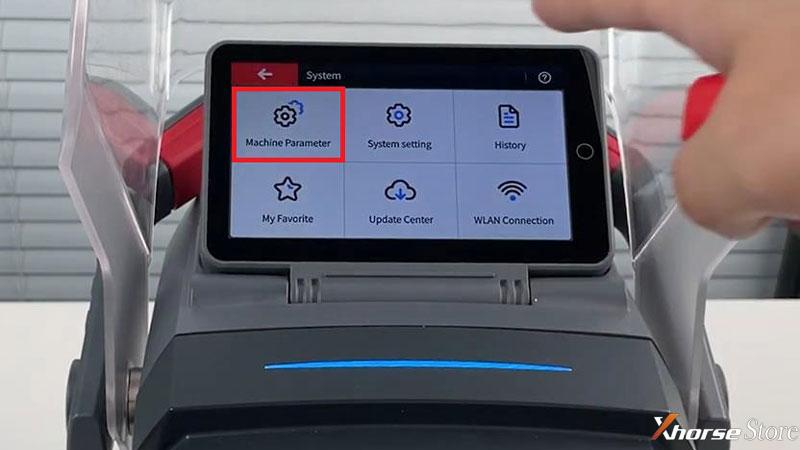
Go to “System >> Machine Parameter >> Cutting Setting”
Here we can set spindle speed, move speed, cutter diameter, LED status and buzzer switch.
Press “Save” to finish.
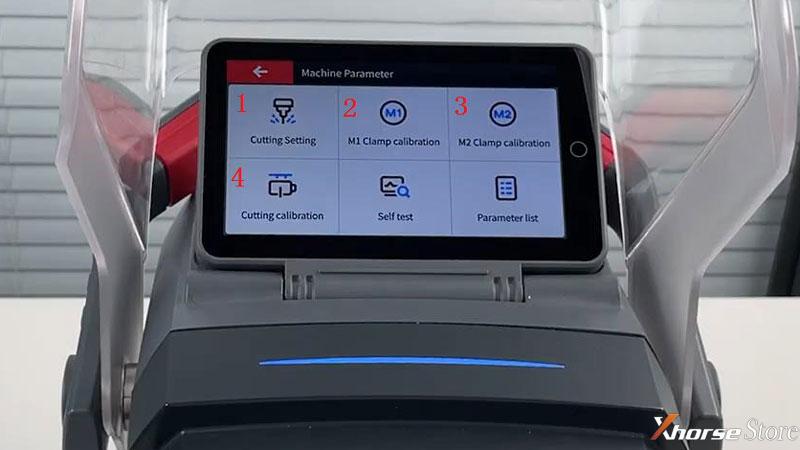
Step2. M1 Clamp Calibration.
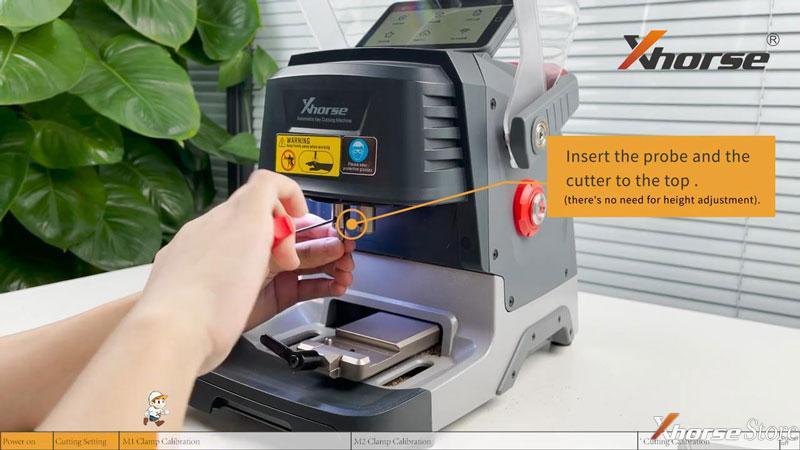
- Insert the probe and the cutter to the top(there’s no need for height adjustment.)
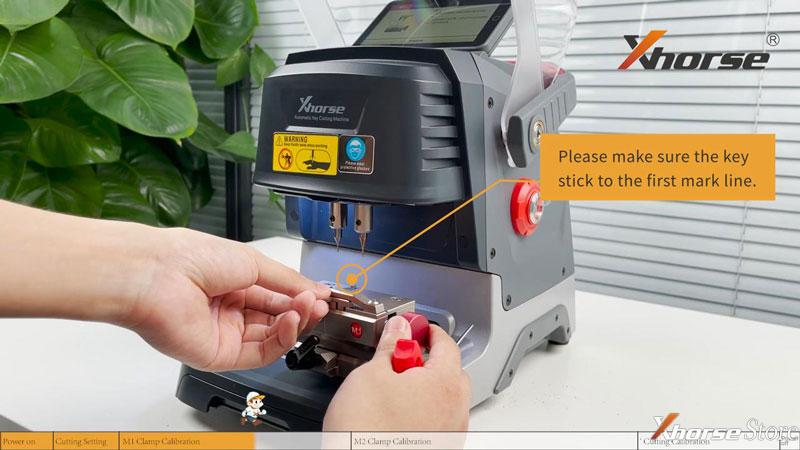
- Press “M1 Clamp calibration”, install clamp & key according to the tips. Make sure the key stick to the first mark line. Press “Start” when finished.
Dolphin II machine will starts calibrating automatically.
Just wait…
When it prompts “Clamp calibration completed”, that’s done.
Step3. M2 Clamp Calibration
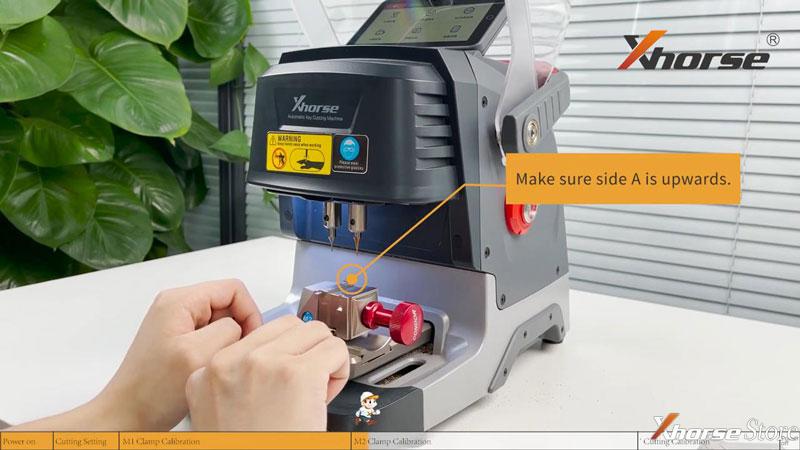
- Install the clamp, make sure side A is upwards. Don’t insert key blank.
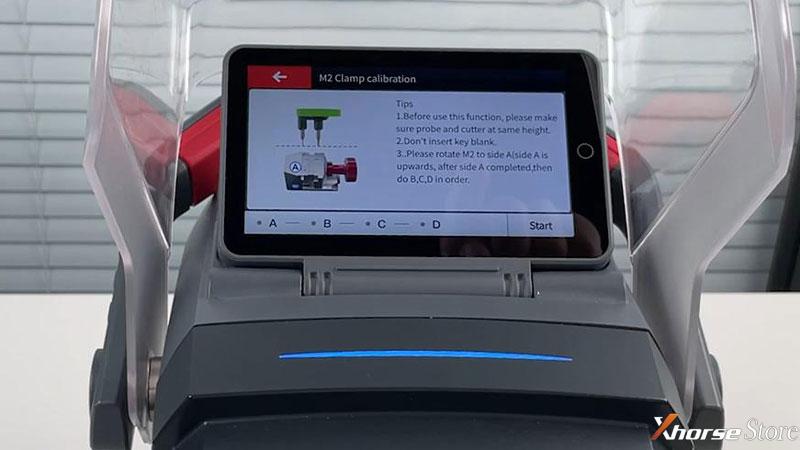
- Press “M2 clamp calibration”, read tips carefully, press “Start”.
Wait until clamp calibration completed…
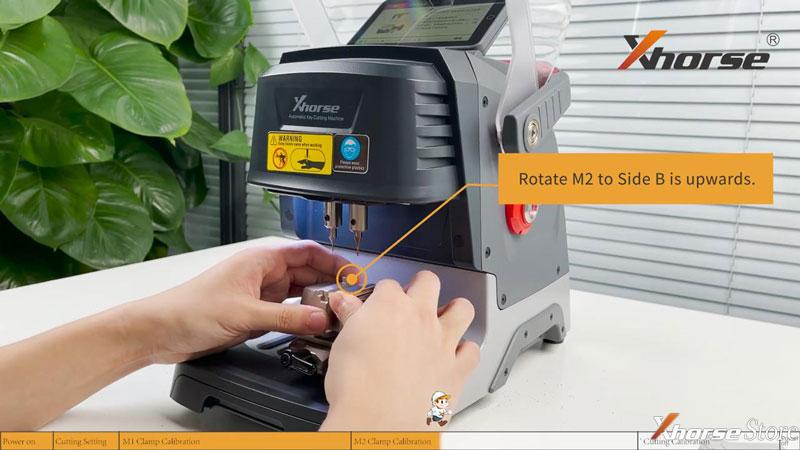
- Rotate M2 to side B is upwards, press “Continue”.
Again wait until calibration was done…
- Rotate M2 to side C is upwards, press “Continue”.
Wait again…
- Rotate M2 to side D is upwards, press “Continue”.
Clamp calibration completed.
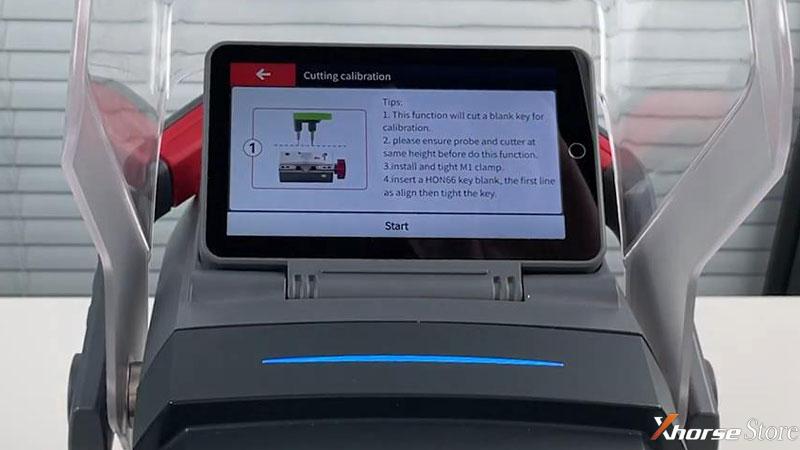
Step4. Cutting Calibration
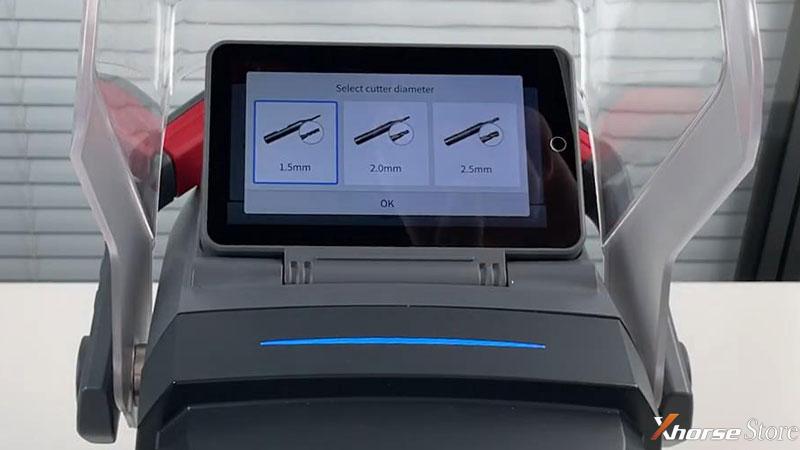
- Cutting calibration >> Select cutter diameter.
- Install M1 clamp and HON66 key blank according to tips, press “Start”.
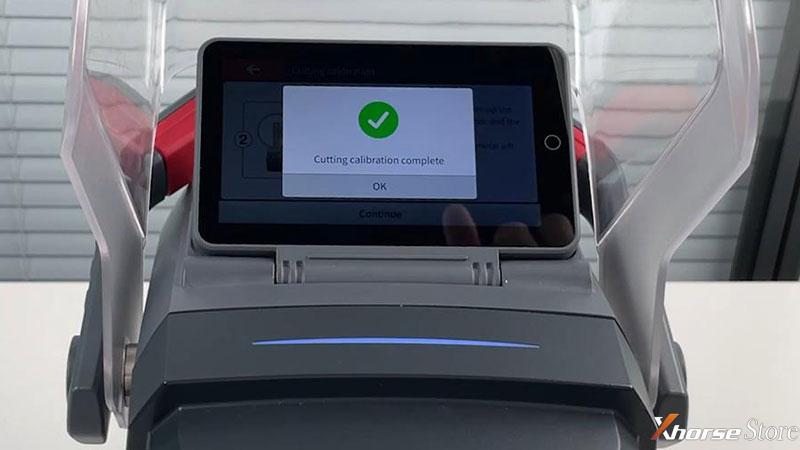
Wait until first step finished… press “Continue”.
- Clean the clamp and cutting, don’t move the key. Press “Continue”.
Cutting calibration completed.
All done!
Now we can start to use Dolphin II for cutting, enjoy it.