This is a tutorial on how to check Xhorse Condor XC-Mini Plus II conductivity cable by yourself. In case having conductivity issue on the key cutting machine, you may have a try. It’s suggested for experienced locksmiths to operate without damaging the machine.
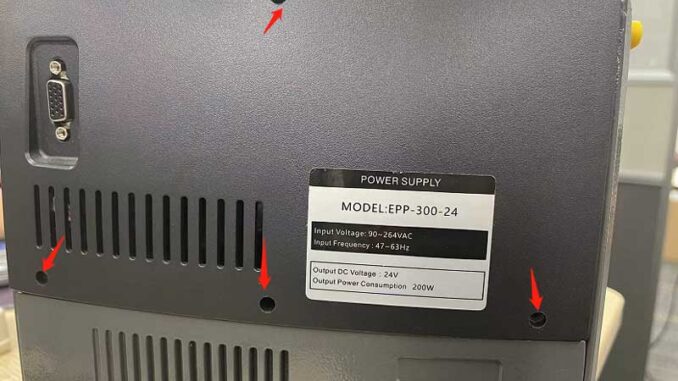
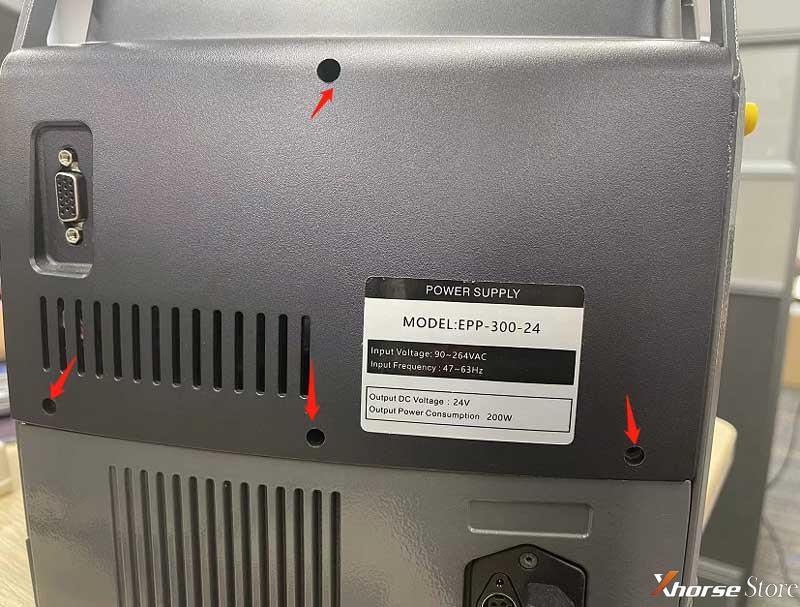
- Remove the screws on back cover to take off Condor Mini Plus 2
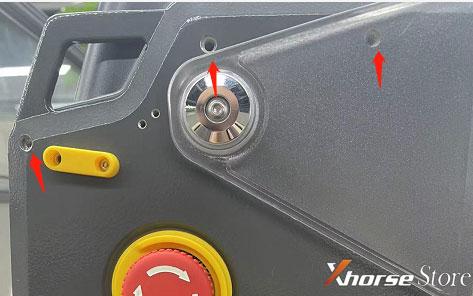
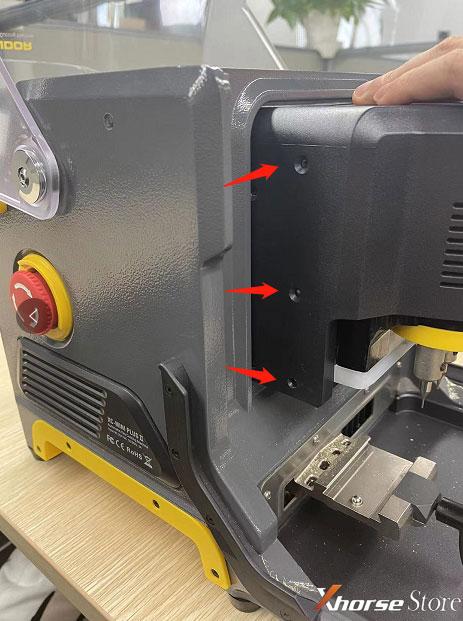
- Pull out the whole motor case, remove all screws to take off the motor case.
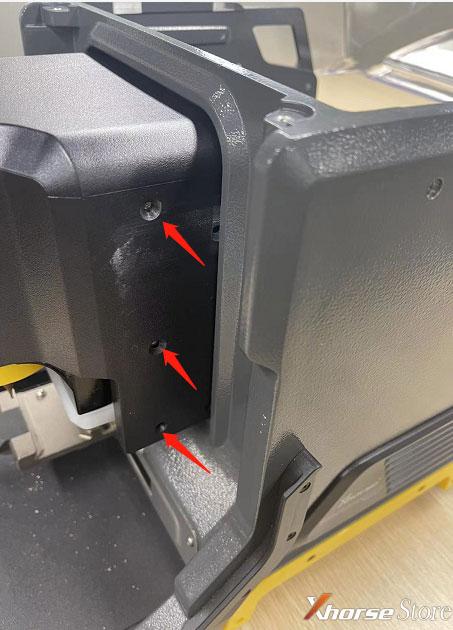
- After removing the case, find out the exposed cable that relates to conductivity. Check if the cable was damaged.
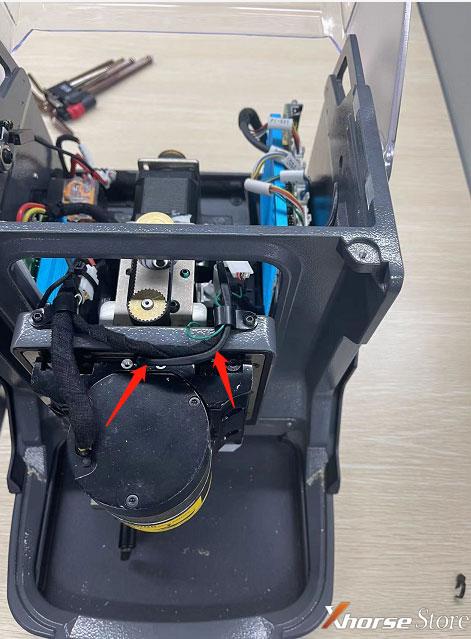
This cable goes through main motor, one side connects to LED bar and the other side connects to probe base. To remove the cable, please remove the cable socket firstly , then pull it out from bottom LED bar side.
Please do this under the advice of professional technician.
Technical Support
(Visited 8 times, 1 visits today)